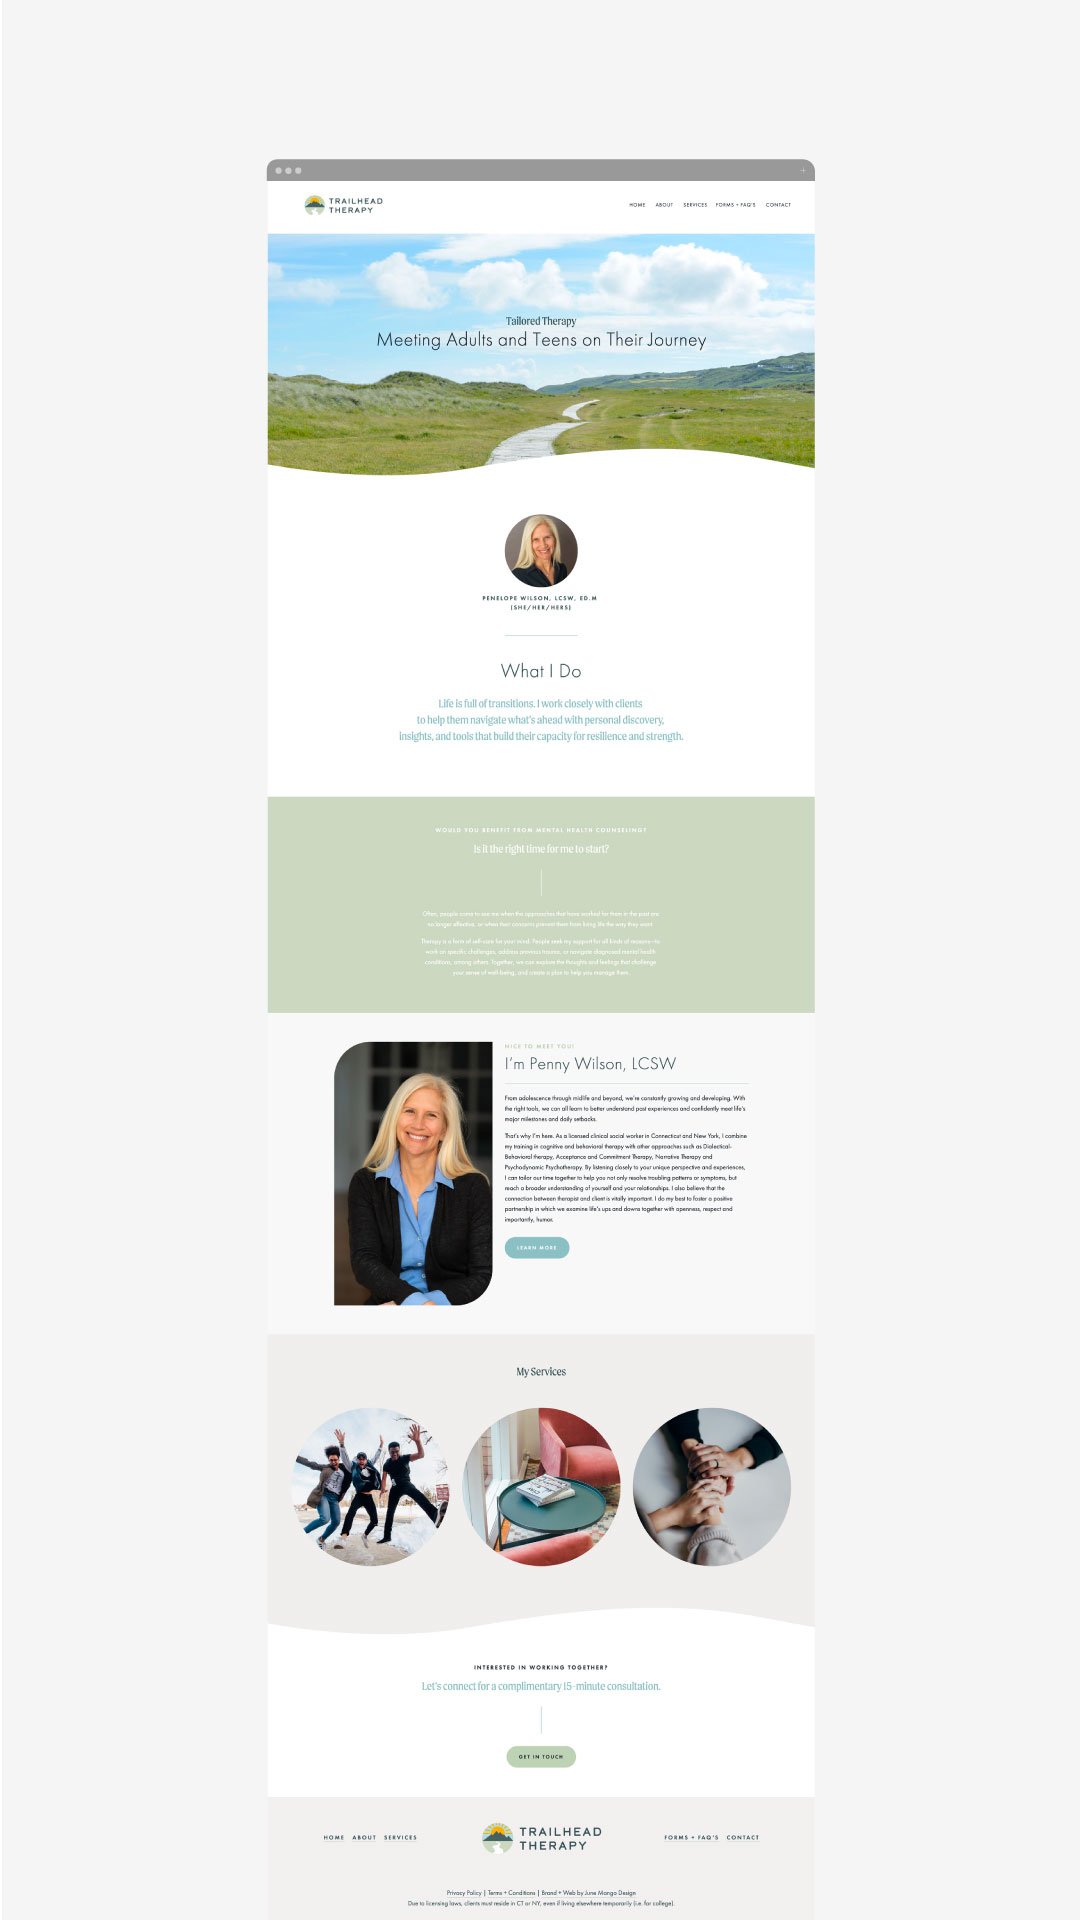
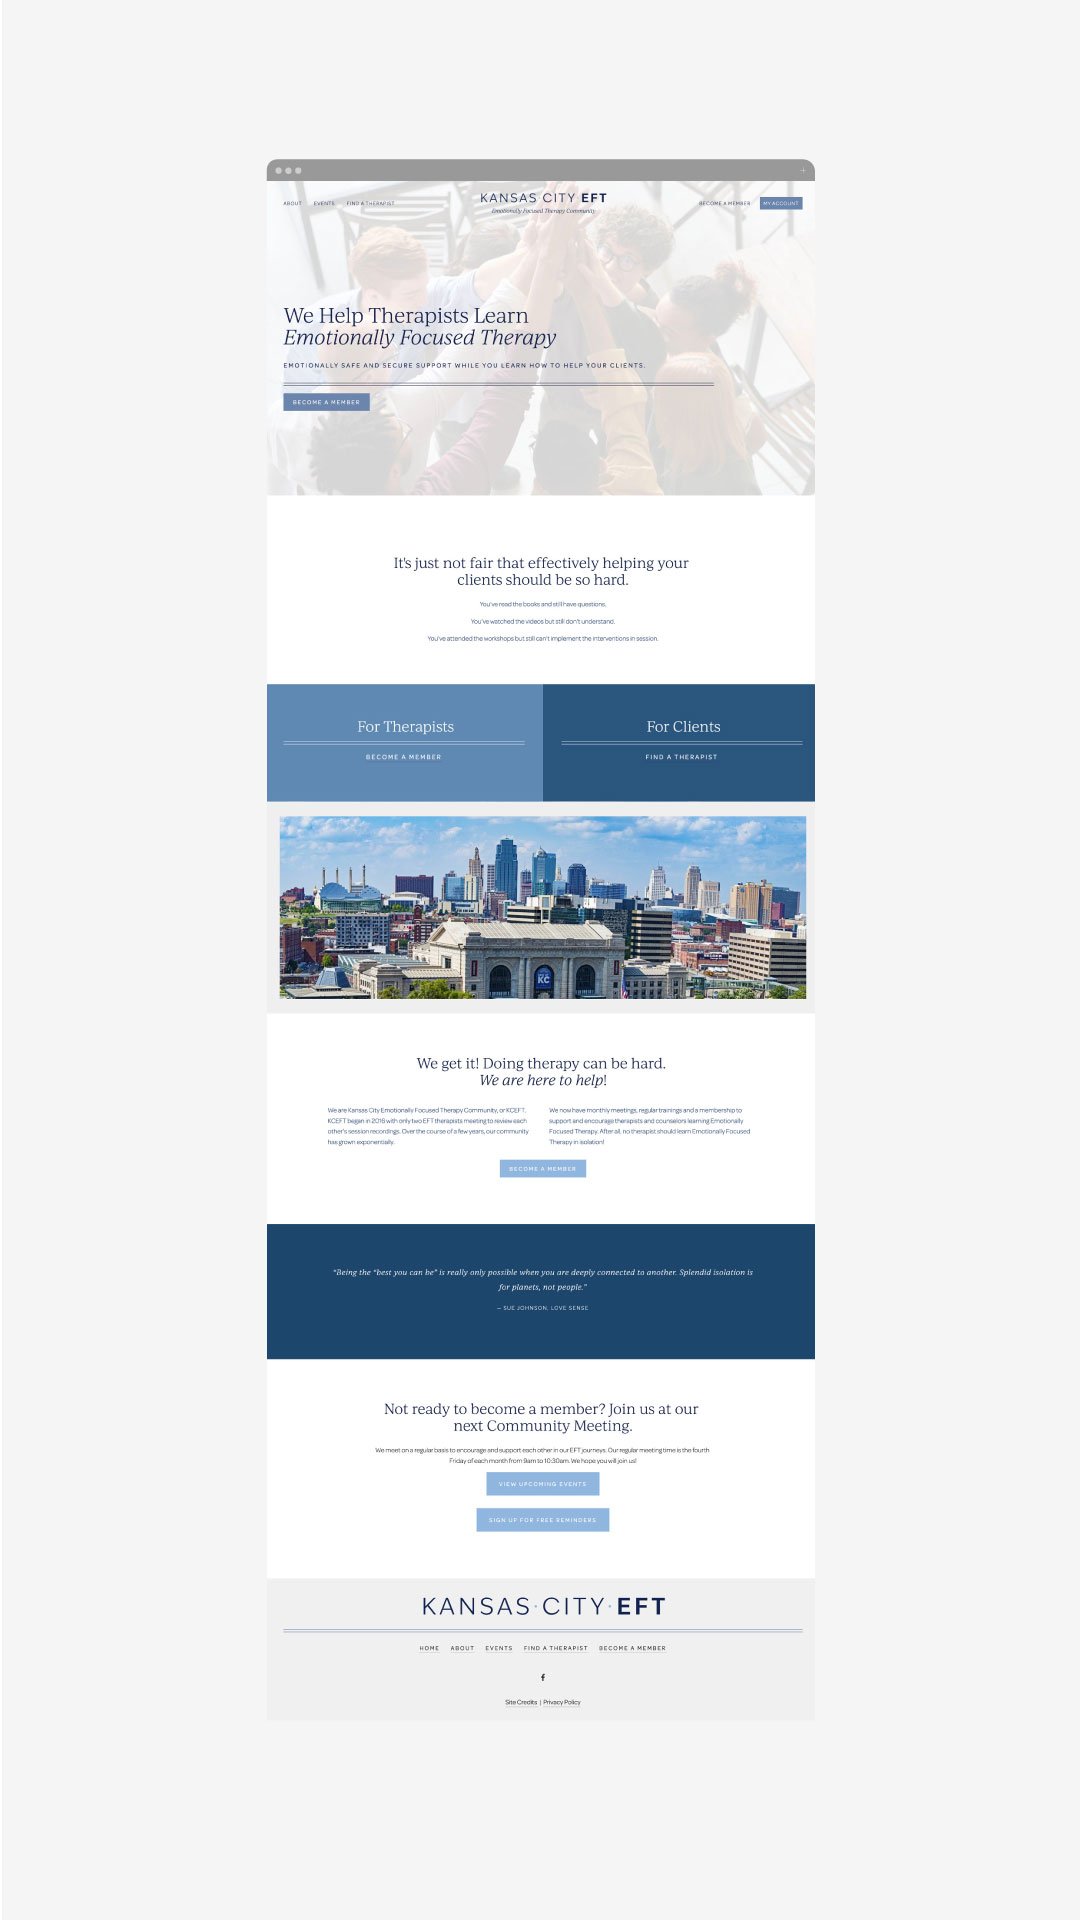
What goes into the therapist web design process?
So you’re starting your own private practice, or maybe you’re expanding your work and want more of an online presence than just a Psychology Today profile or Facebook Business Page but you feel overwhelmed. Where do you begin? What does the process look like for a therapist’s web design process verses a more typical small business?
You can do this!
First, decide whether you want to DIY your therapy website or if you’d like to have a professional designer knock out the process for you. There are benefits to either choice, and it usually comes down to which you want to invest: time or money. If you’re just starting your private practice, you may find that you have a bit more time to spend on the web design process, but if you’re expanding your therapy practice, you may feel that investing a little extra is worth the time saved and professional quality as the end result.
01. THE DIY THERAPY WEBSITE PROCESS
Determine your niche and who your ideal clients will be. What will bring your clients peace and success in therapy? What is your unique approach? What makes you the perfect fit for someone looking for a therapist today? Once you answer these questions, you can build from there.
Write your copy. Ooof. Yes, it’s kinda hard, and yes you can do it on your own. Keep it simple - literally. Explain your offerings as if someone had never even heard of therapy before. Fill them in on exactly what a session with you looks like, who you serve (adults, families, etc), and what they can expect. Also give them some background on you or your staff - let them get to know your therapists through the website.
Create brand guidelines. You should have a logo, or at least a font for your therapy practice’s name. Pick 4-6 colors to use on the website and any other branded materials you may need (business cards, letterheads, etc). Pick 1-2 fonts. When in doubt, keep in simple.
Gather photos. Grab good stock photography or snap photos of your actual space. Make sure there’s good lighting! And don’t forget to include pictures of you and/or your therapists. (And smile!)
List out your pages. Home, About, Offerings, Contact… Those are pretty basic and almost all therapy websites need them. Maybe you also need Our Approach, a Blog or a longer Bio page.
Pull it all together. Literally. Throw it into Word or Canva - just get a rough sense of how all these colors, photos and words work together in the same space.
Pick a web design platform. Squarespace, Wix, SimplePractice… whatever floats your boat. You may also want to grab a pre-designed template to help get you started (but these can be tricky too.)
Add your content and connect your domain name. Don’t have a domain name, grab one from GoDaddy or somewhere similar. .COM’s are still best and try to keep it easy for people to remember.
SEO! Do you have to? No. Will it help you? Absolutely. This is a bit of a rabbit hole, so see here if you want to dive in.
Celebrate, market it, and rest! You did it, now share it! Send an email, share it on social, tell all your friends! Then rest; doing your own therapy web design is hard work.
01. THE EXPERT-LED THERAPY WEBSITE PROCESS
Determine your niche and who your ideal clients will be. Same as above, but often a good brand strategist will be able to share questions and guide your answers to align your growth goals with your values.
Brand design time! Your designer will now use all of the juicy strategy and brand positioning you created together to design a logo and icon that really draws in that ideal client. This is also where the fonts and colors get nailed down.
Messaging and copy get written next. Emotion-driven messaging will help turn those looking for a therapist into people who click the next step. Good messaging on a therapist’s website will make the potential client feel understood and seen by you. Not all web designers write copy, but some do and those who don’t can still help guide the process.
Carefully curated photos. Your web designer will be able to utilize any photos you have and mix those with thoughtfully selected stock photos to really weave together the emotional vibe you want your clients to feel enveloped by. These photos will also be selected to ensure they match the branding and color palette.
Design and layout. Your web designer will get to work laying everything out on the website for you! This is where you get to sit back, relax, and watch it come to life online. You get time to make revisions and then voila! - it’s time to launch.
SEO. Your web design should be doing all of the alt tags, page descriptions and other optimizations to ensure you can garner search results for your therapy practice based on thoughtful keyphrase research and implementation.
Launch and marketing. Same as above: it’s time to share your new therapy website design with the world!
That’s it!
The truth is that all therapist website designs are not created equal, and the design of your website really does matter.
Everybody uses Google to find what they’re looking for these days — including those who are seeking a therapist. Your potential clients will want to check you out and learn about your practice before booking their first appointment or consultation request with you. A web designer can really help, but you absolutely can DIY a beautiful, functional website too! Either way, you’ve got this.


